Low-Poly Portrait
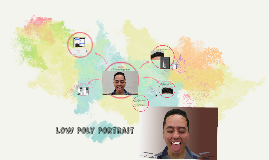
Transcript: Using the polygonal lasso tool, un-check anti-alias Make a copy of your original image and zoom into the place you're going to start on. Optional editing: From here you can change the coloring, saturation, etc. Before Then go to view, show, and click grid The smaller the polygon, the more detailed your finished product will be. With your portrait in Photoshop, go to view and make sure ruler and snap are checked. Go to Photoshop> preferences> guides, grids & slices All the colors in the selection will average out into one flat color. Select a new triangle using one of the previous triangle's side and press command+F to apply the average filter. Continue this until the zoomed in area is filled. How To Create Continue until the entire photograph is covered. Go to filter> blur> average Continue making triangular polygons that conform to specific areas of angle or color and tone in photograph. Changed the blending mode to screen After Set grid style:lines grid line every: 20 pixels and subdivisions: 2 and brought down the opacity to 35% Using the grid as a guide, create a triangle around specific angles or colors in the image and face. Low-Poly Portrait I wanted my image to have a cooler tint to it, so I added a layer with a purple rectangle. (to deselect a triangle use command+d)


